


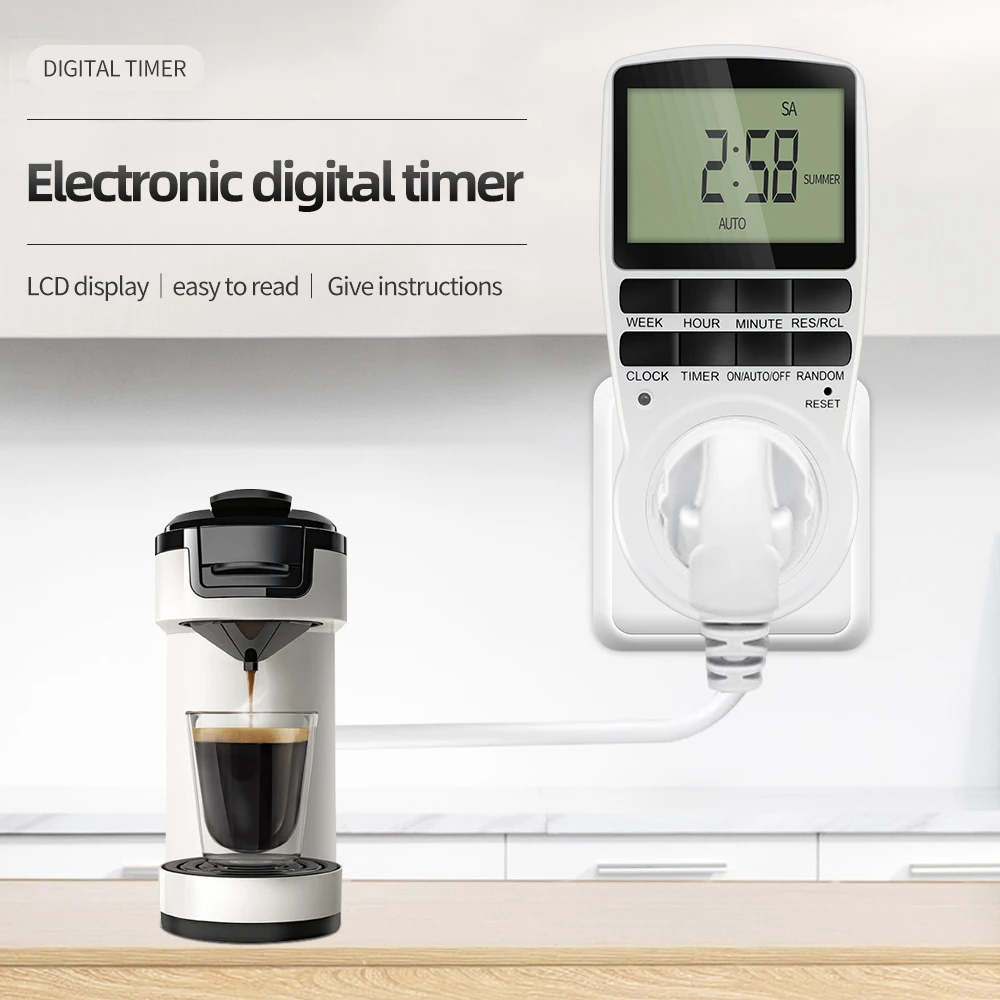
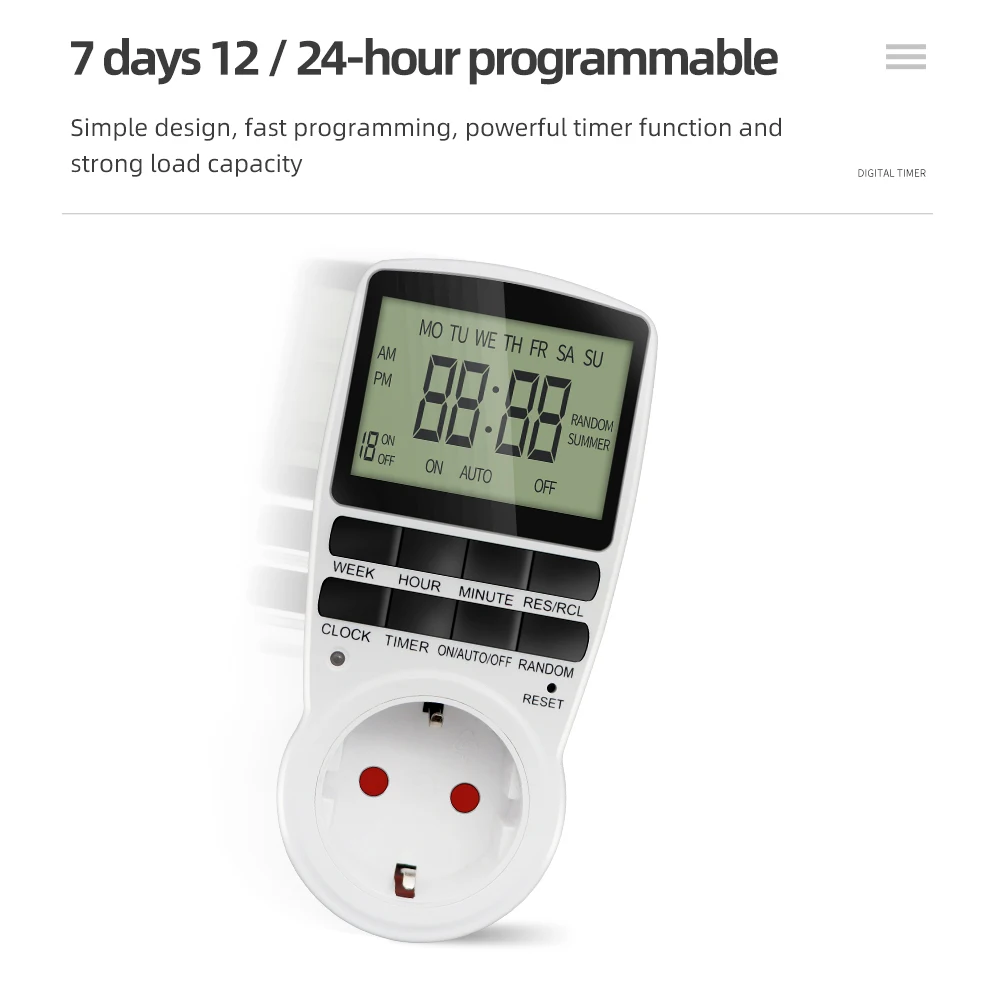
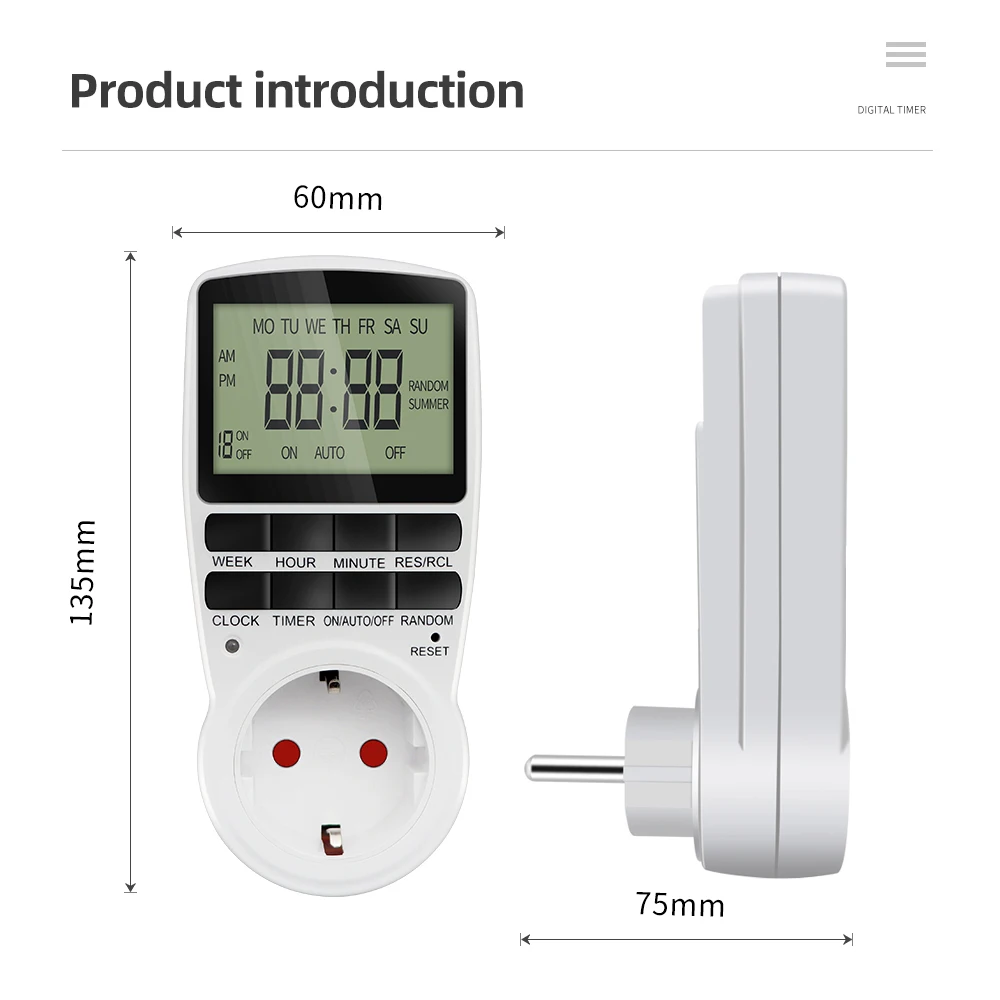
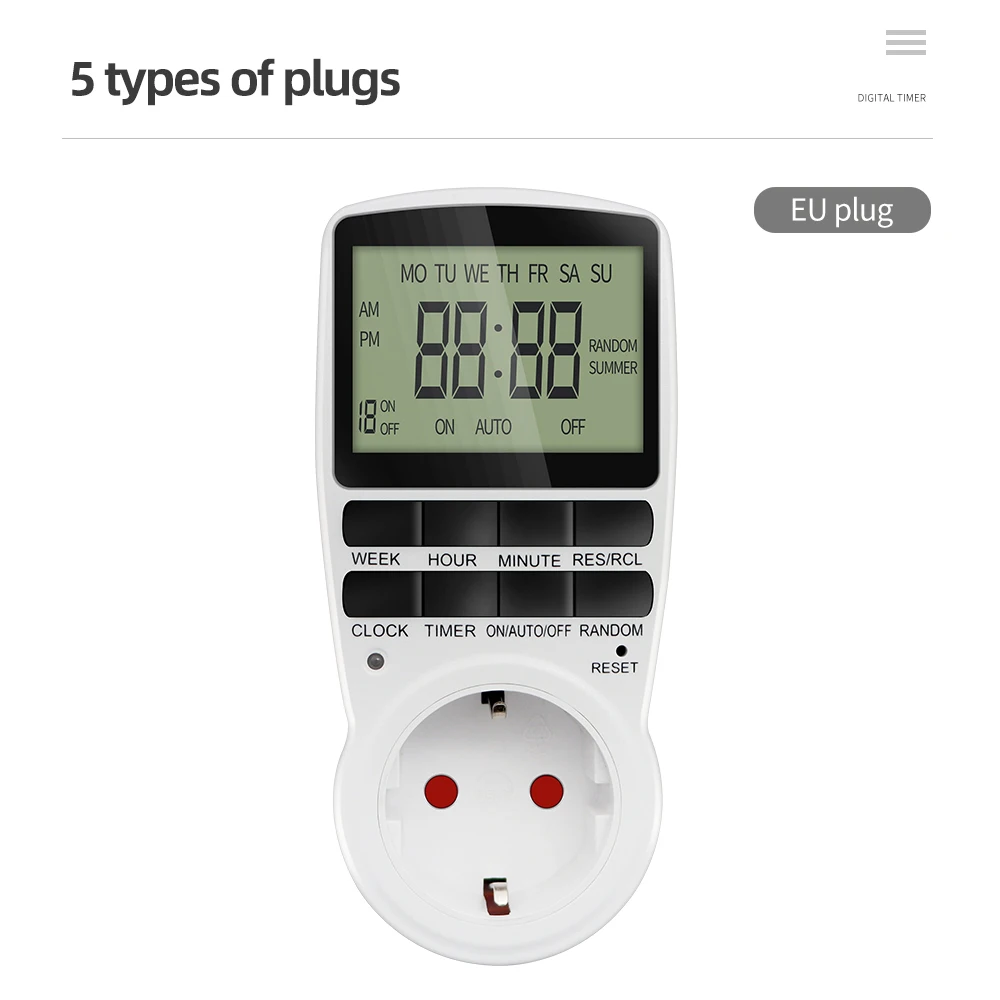
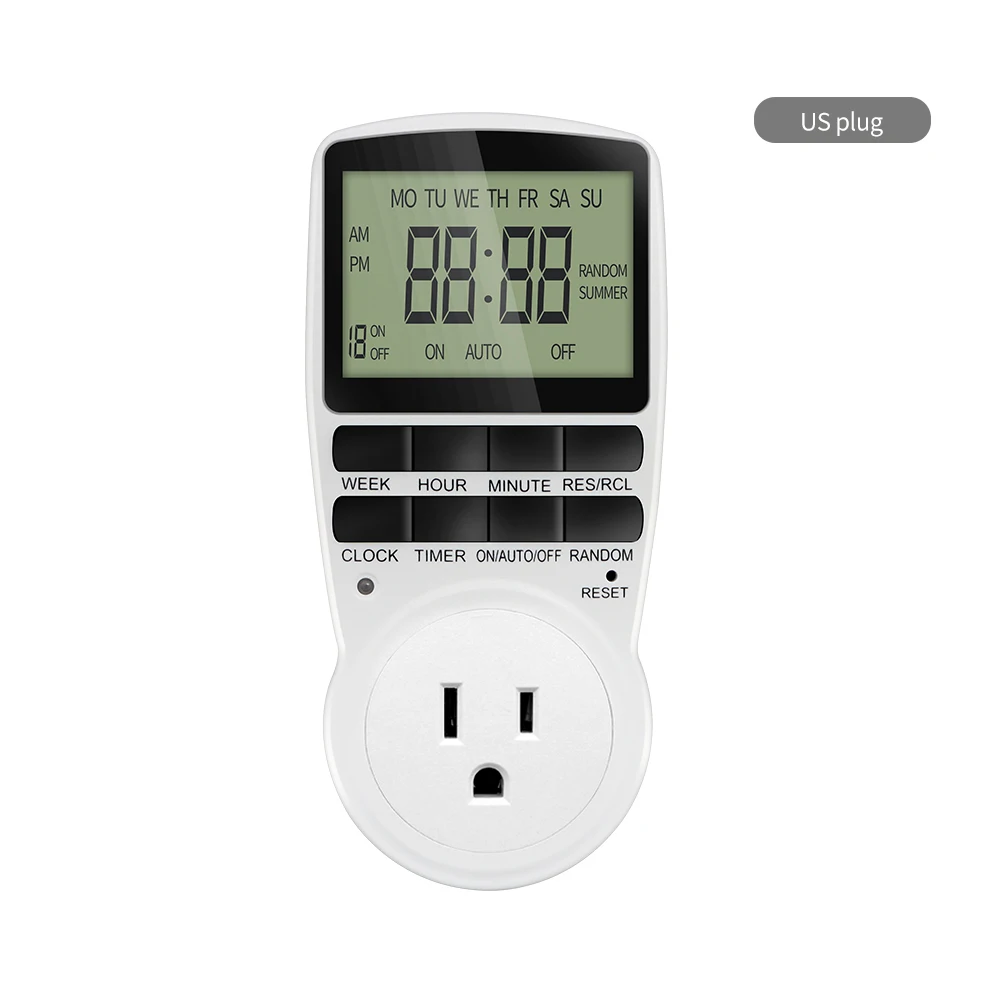
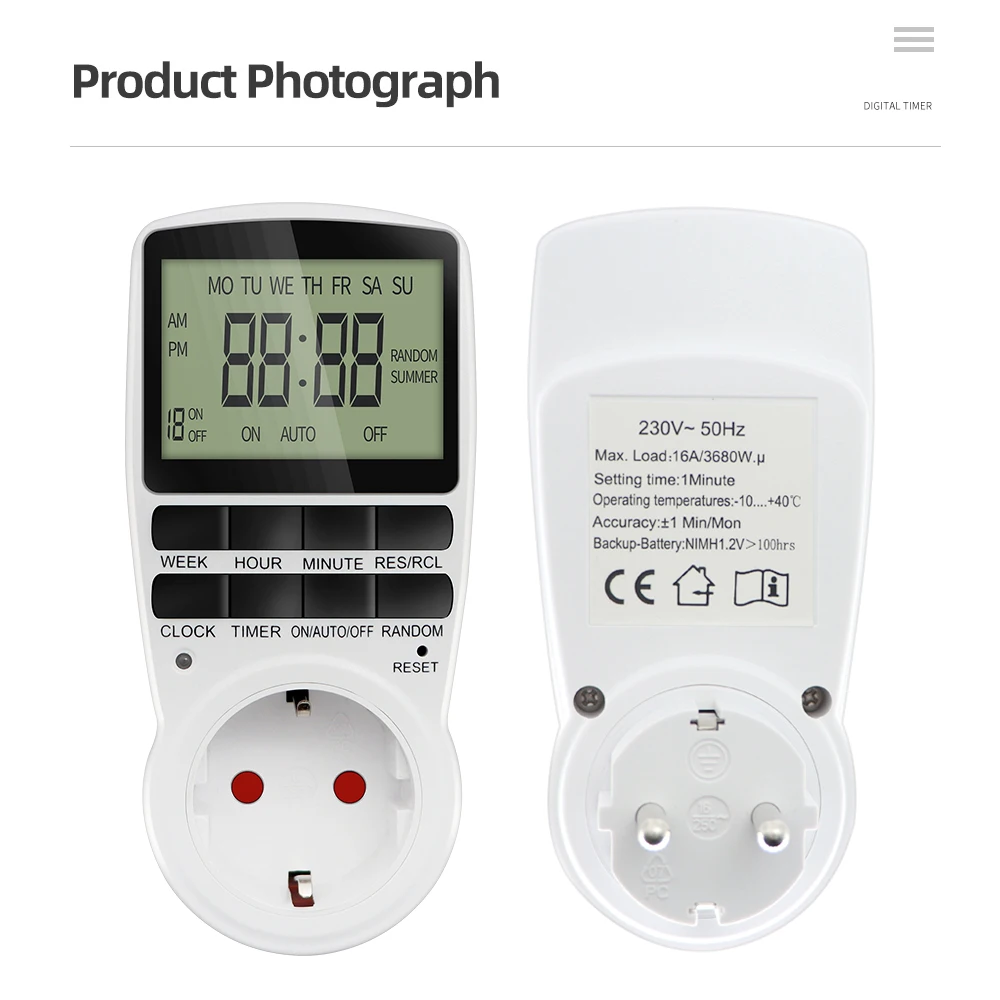
The Electronic Digital Timer Switch is a programmable timing socket that can be set to either 12 or 24-hour format. This timer switch is compatible with 220V power outlets and comes with plugs for various regions including EU, Reino Unido, A NOSOTROS, Au, and FR. It can be used in the kitchen or any other room to control the timing of appliances or devices. The timer switch allows for easy and convenient scheduling of when devices turn on or off, providing added convenience and energy savings.
Interruptor de temporizador digital electrónico 12/24 Hour programable Timoting Socket 220V Temporizador de cocina Control de tiempo de salida EU UK US Au FR Plug
Especificaciones:
nombre del producto: Minutero
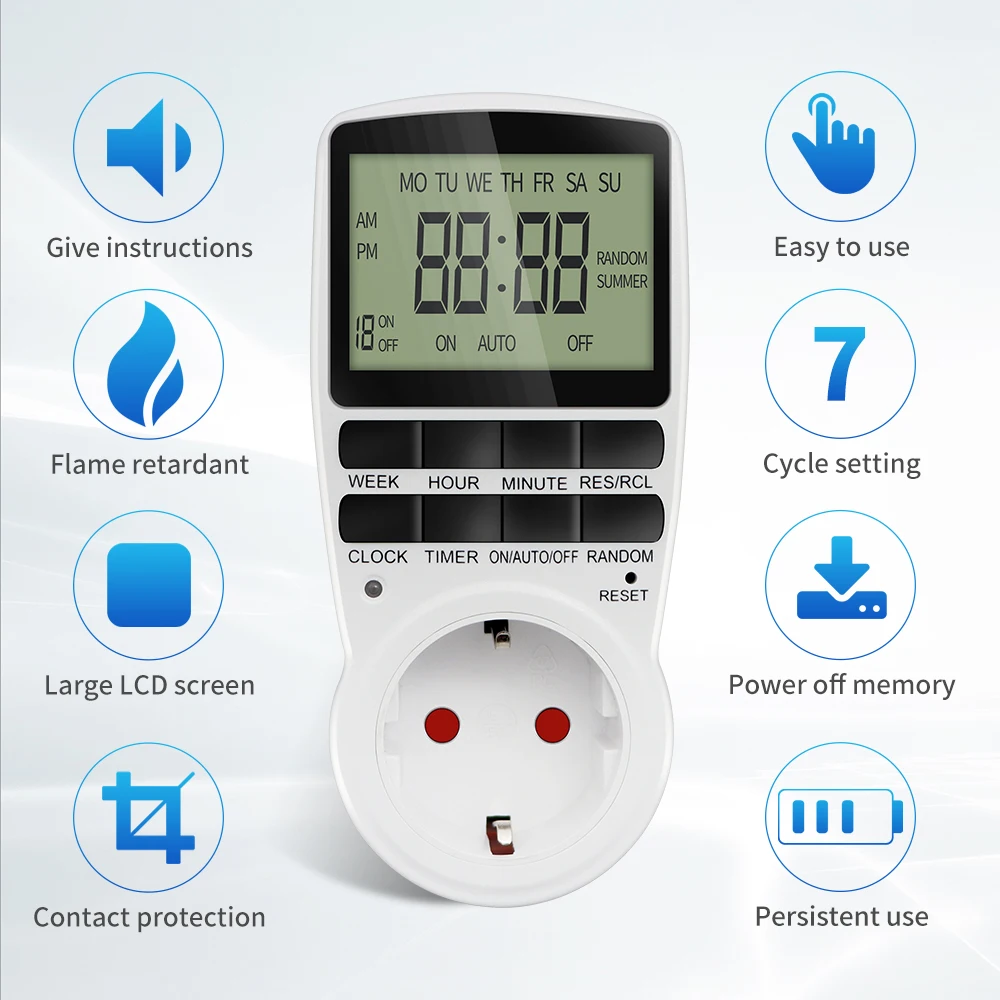
Number of programs: 10 groups setting
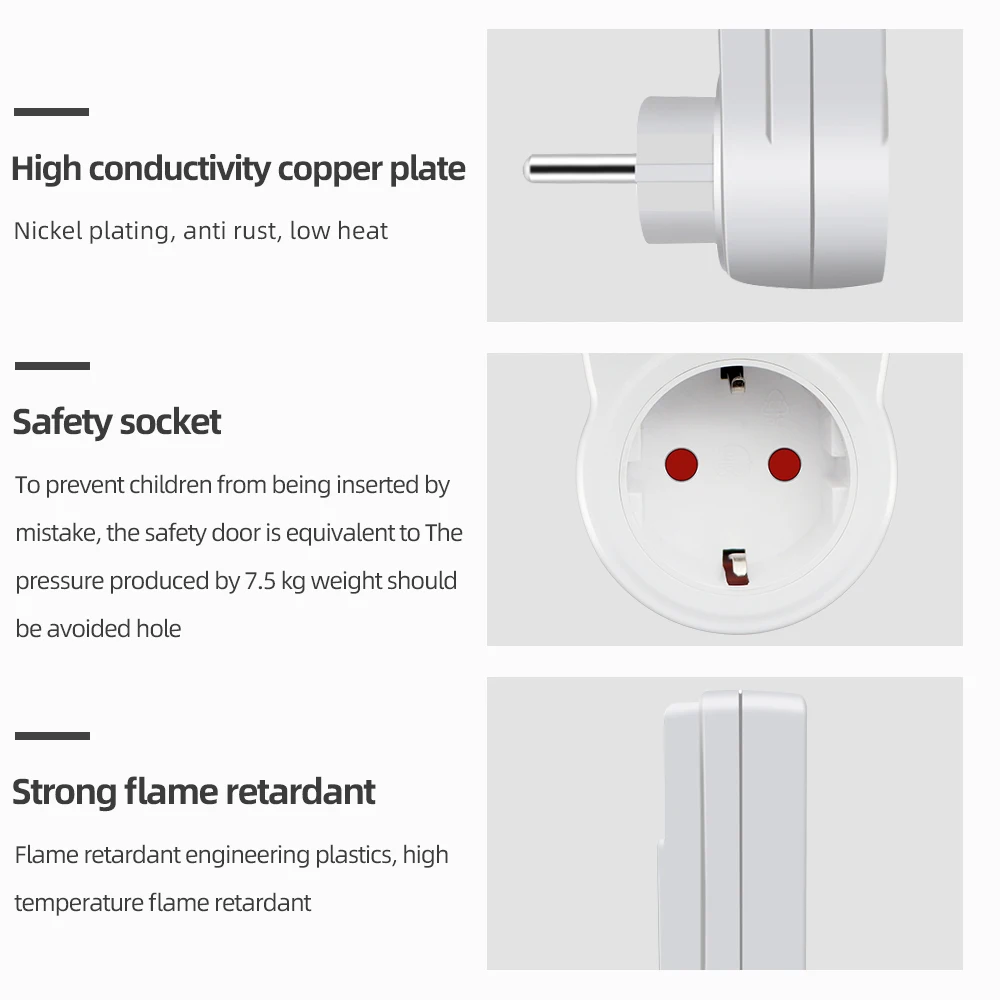
Hull material: ordenador personal
Temperatura de funcionamiento: -10-40 ℃
Min in the timer setting: 1 Minuto
Exactitud: +/- 1 Mínimo / Lun
Tipo:UE(230V 50Hz) EU timer Load: 16A/3680W
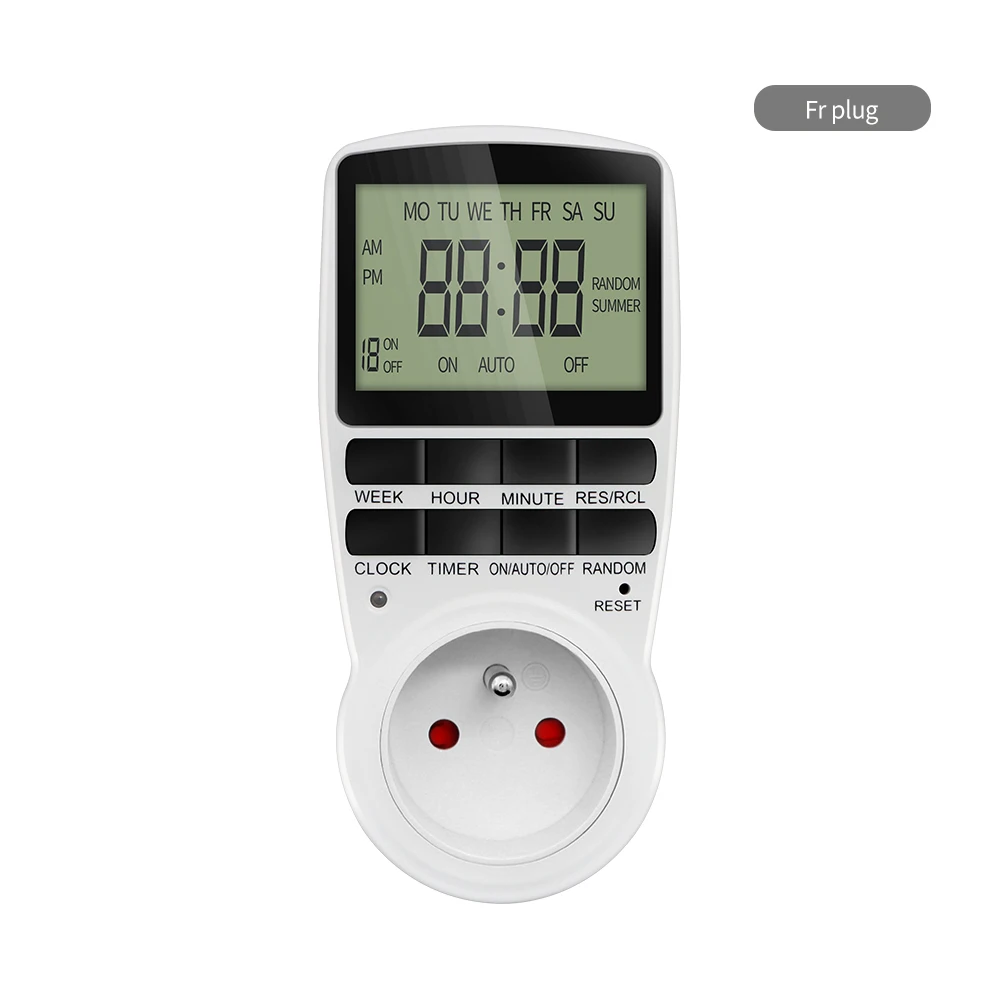
Fría(230V 50Hz) FR timer Load: 16A/3680W
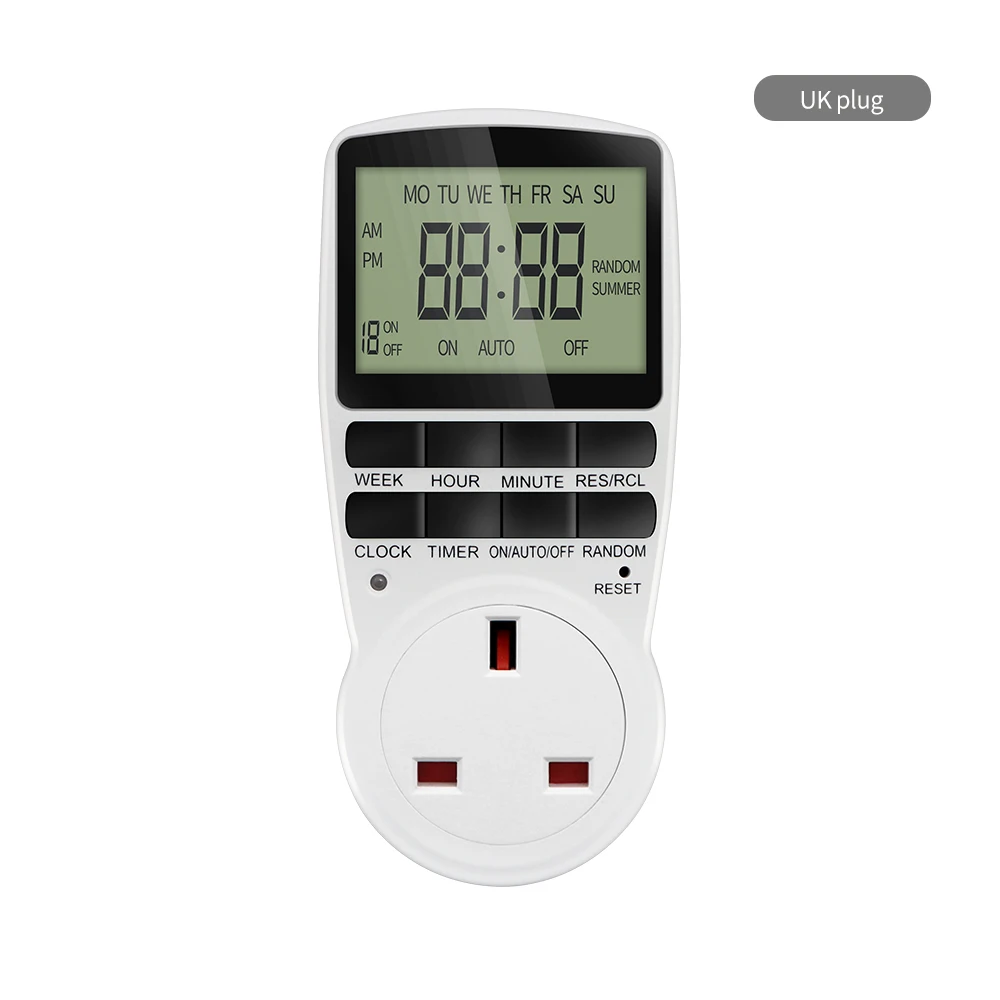
Reino Unido(230V 50Hz) UK timer Load: 13A/2900W
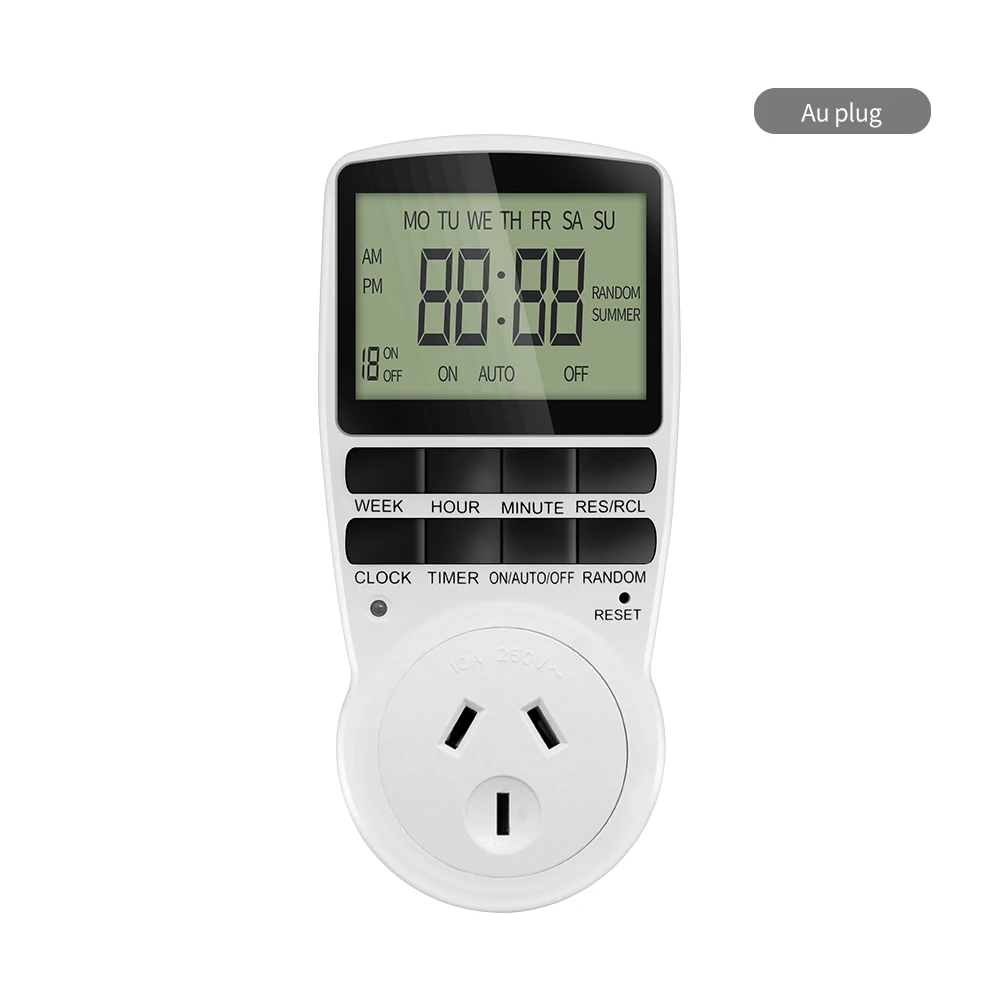
Au(240V 50Hz) AU timer Load: 10A/2400W
A NOSOTROS(120V 60Hz) US timer Load: 15A/1800W
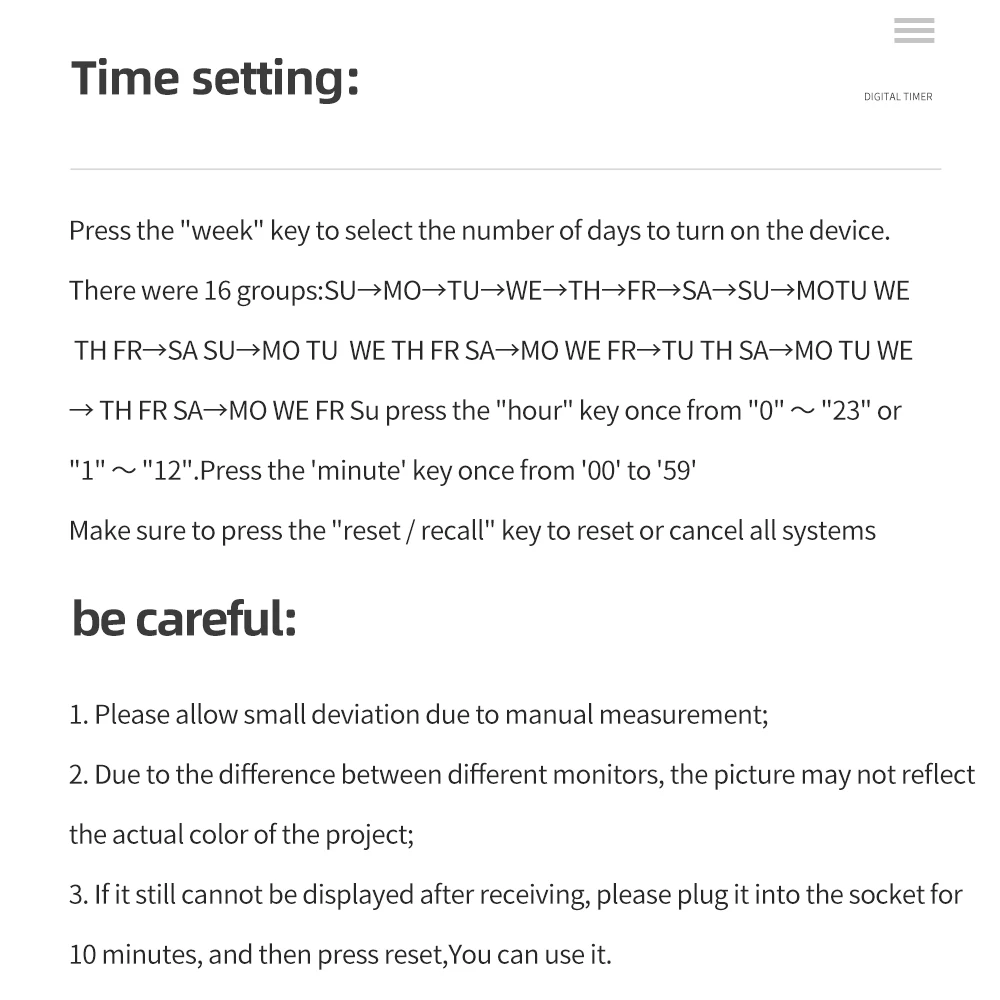
Time setting current:
1. Press and hold the “clock” button and press the “week” button until the actual day is displayed, then pressing the “ hour “or “minute” and “Clock” button until the current time or MINUTE is displayed. When setting, the week, hour or minute buttons can be selected for quick counting
2. Release both buttons, the week and time will be set.
3. To reset the incorrect time,reset it and then repeat the previous steps.
Setting programs:
1. Press the timer button and release. 1on Will display on the screen.
2. Press the week button to set the day or blocks of days, set the time by pressing the hour button, then the minute button.
3. Presione el " minutero" button again to complete the first setting .1 off will display on the screen.
4. Press the week button to set the day or blocks of days, set the time by pressing the hour button, then the minute button. 1 group of setting finish .
5.Repeat 2 ,3 y 4 to program the other setting.
6. After finishing the settings, press the clock button and the timer is ready to operate


muletas de antebrazo")
, 100control remoto de rango ft con 2 Sueltas a tierra para el hogar y el jardín, ETL Listado Forearm Muletas")


Reseñas
Aún no hay reseñas.